

Ubuntu 18.04 LTS has recently been released and what’s better than trying out a freshly launched distro. Lucky for us, it is extremely easy to make an Ubuntu bootable drive that can not only be used for installing Ubuntu but you can use that to run Ubuntu live(without installing) as well. So let us begin step by step. Before we start, I am assuming you are on Windows 10, have a USB drive handy and have access to the internet.
Step 1 – Downloading Ubuntu ISO
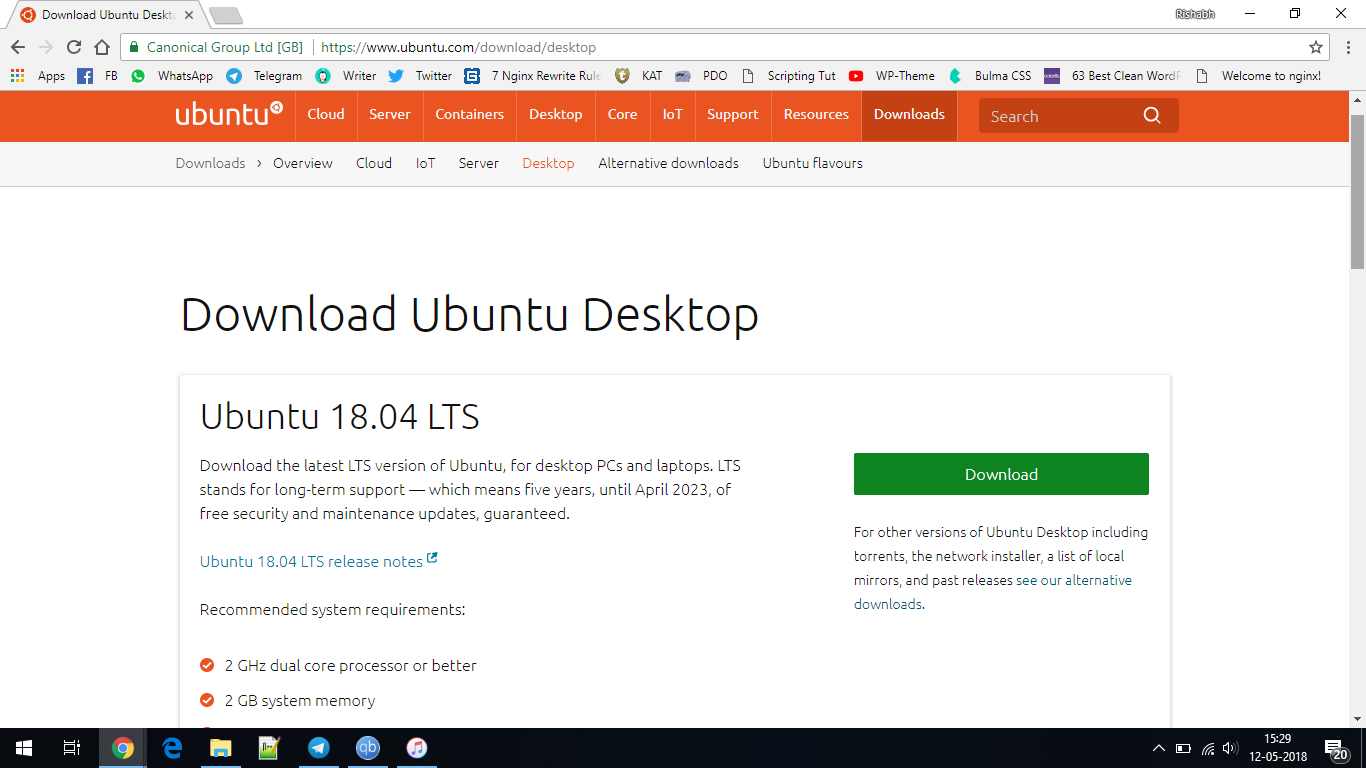
First of all, we need to download the official ubuntu iso. For this, we will head over to Ubuntu’s official website and in the download section. You can click here to go directly to the download page.
Step 2 – Installing LiLi
Once you have downloaded the ISO, it’s time to download LiLi, short for Linux Live USB Creator. It is a small and powerful tool that we will be using to create the bootable ubuntu drive.

Once you have downloaded it, the installation is pretty simple so you can just accept all default settings and continue with it.
Step 3 – Making USB Bootable USB
Once you have downloaded and installed LiLi on your computer you can fire it up and you will see the Lili Window like this.
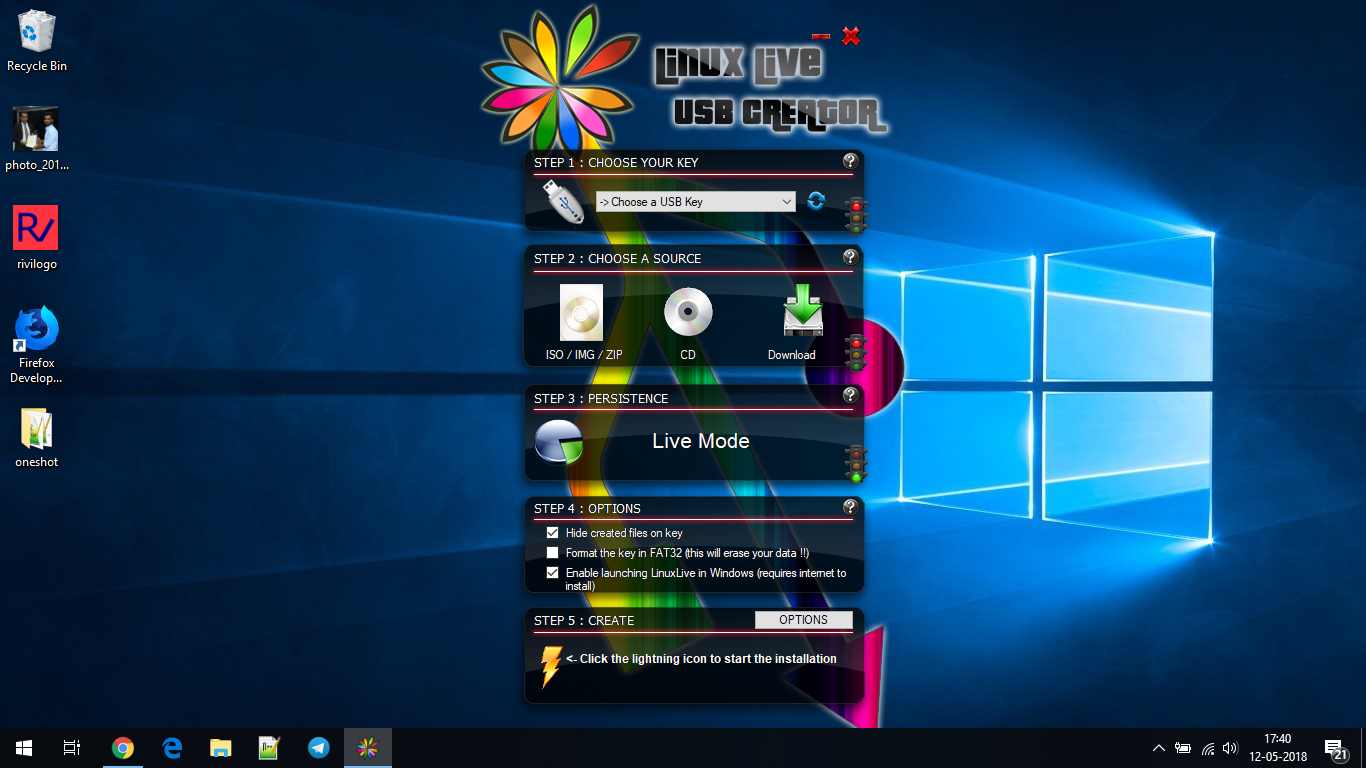
Now there are 4 basic configurations that we need to take care of, and I will guide you through the process.
1. Choose your Key
This option basically asks you which drive should be used for making the bootable drive.
So just select the drive of your choice.
2. Choose a Source
Choose the source or ISO file that you wish to make a bootable of. We have already downloaded the Ubuntu ISO, so that’s what we select.
3. Persistence
Persistence is basically the amount of disk space that is reserved as non-volatile. So that you can use the USB bootable without installing the OS and any changes you make will be made to the bootable. So it’s like a pocket-sized operating system in itself. Though you don’t need it if you are just going to install the system. I usually leave it to a100 or 200 Megabytes just in case I need it.
4. Options
There are 3 sub-options here. And I would say you check mark the first two options that say hide the files on disk and format the drive in fat32(Note: You Will lose all data on the drive). The thirds option on being checked lets you launch LiLi in windows and you don’t really need it as of now. So you can leave it unchecked.That’s all for the configuration part. You can now click the lightning icon and the process shall begin. It usually takes around 5-8 minutes on a USB 2.0 drive but that number is variable.
Conclusion
So we discussed how to make a bootable Ubuntu USB drive in windows this article. I hope you guys understood everything. If you face any difficulty in following any of the steps, just let me know and I’ll be there for you.