Include jQuery in web pages - Local or CDN
Table of Contents
In the last article of the learn jQuery series, we learned to create a jQuery development environment. Fortunately, it was pretty easy to create. In this article, we will learn to include jQuery on our web pages. In this article, we will fire our first jQuery code and see it working in our web browser.
So without any further adieu, let’s start.
Including jQuery in web pages
There are two methods we can include jQuery in our web pages. The first is to download it locally and reference it on all our web pages. Or the second one, we can use jQuery hosted by Google CDN or cdnjs. Both methods are easy to do. I recommend the second method, as it will load jQuery faster in users’ web browsers regardless of their physical location.
Method 1: Download jQuery locally
First of all, download jQuery in your project directory. I assume you have a separate folder for storing assets for your websites, such as images, stylesheets, and javascript files. If not, you can do it like this –
.
+-- jQuery project
|   +-- assets
|       +-- images
|       +-- javascript
|       +-- stylesheets
+-- index.html

Now head over to the jQuery website to download the latest version of jQuery. At the time of writing this article, jQuery’s latest version is 3.5.1.
Download it in the javascript directory of your project. And it’s done.
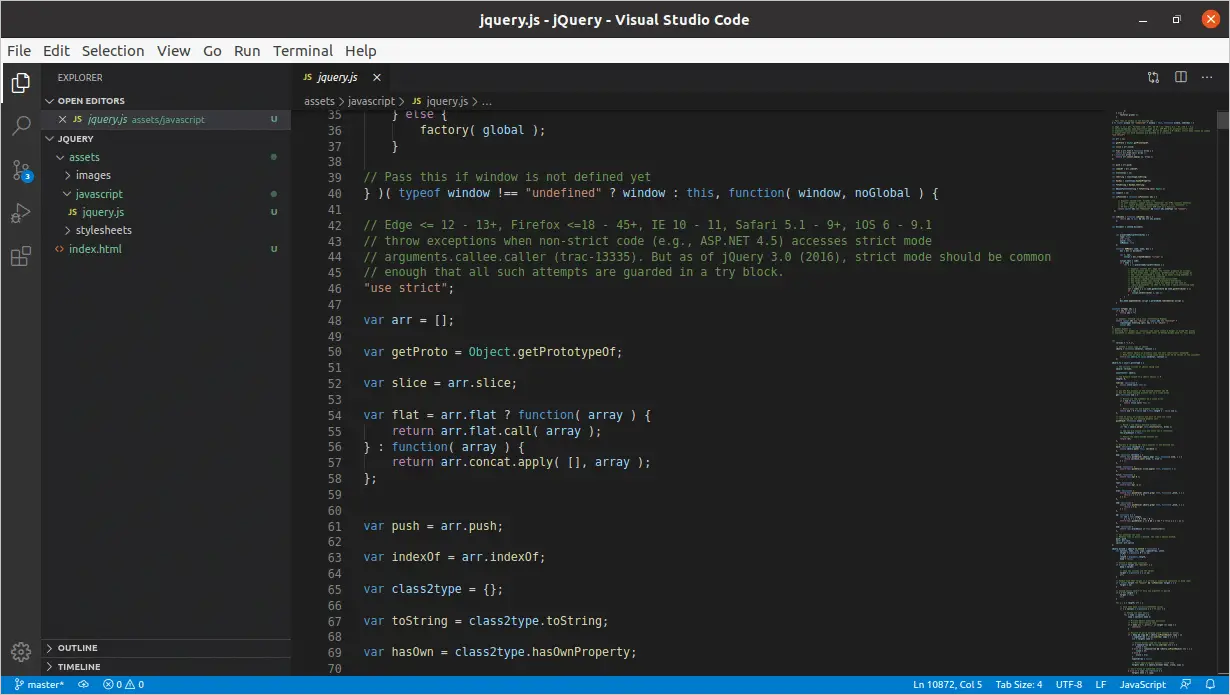
Now open the page where you want to use jQuery and add it right before the closing body tag.
<script src="assets/javascript/jquery.js" type="text/javascript"></script>
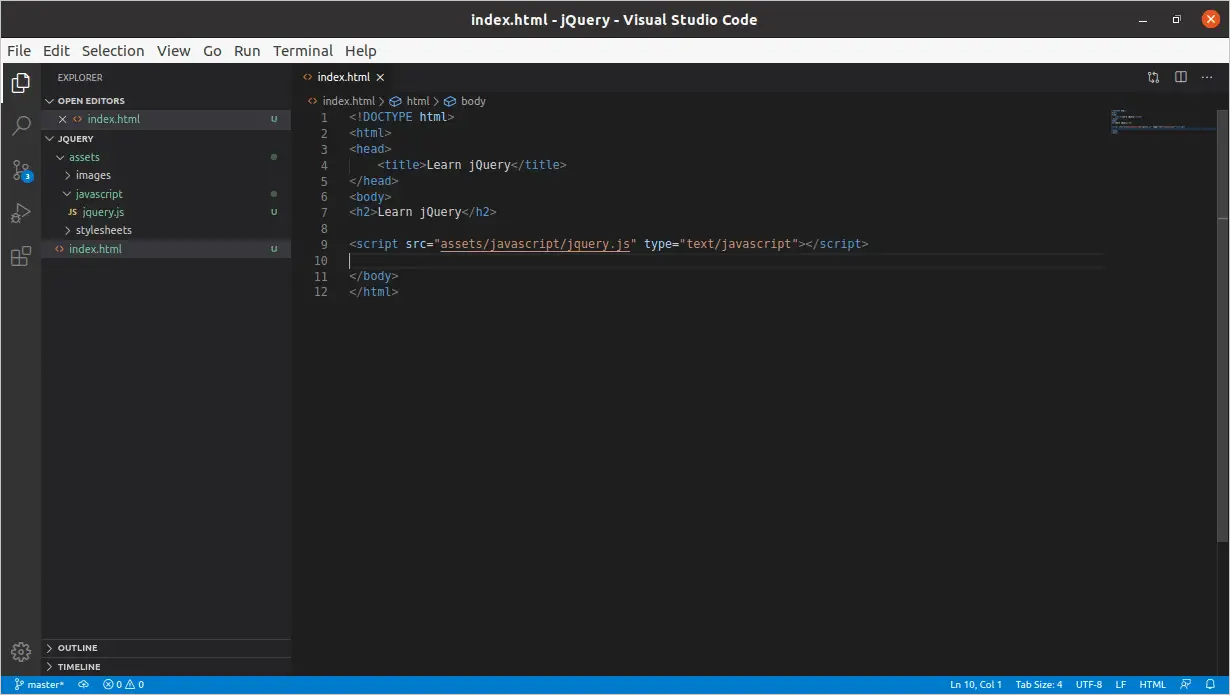
So there you have it. After including jQuery in our web page, we can write jQuery code after that reference line.
Method 2: Download jQuery from CDN
The second method of loading jQuery in our HTML pages is through a Content Delivery Network. This is the recommended method as it speeds up the loading of a web page. Instead of the jQuery file loading from our server, it is being downloaded from the CDN, which means the user who loads up the page, the jQuery file, is downloaded from the server closest to his location.
Mainly there are two CDNs that we can use, jQuery hosted by Google and cdnjs.
jQuery hosted by Google
<script src="https://ajax.googleapis.com/ajax/libs/jquery/3.5.1/jquery.min.js"></script>
jQuery hosted by cdnjs.com on Cloudflare
<script src="https://cdnjs.cloudflare.com/ajax/libs/jquery/3.5.1/jquery.min.js" integrity="sha256-9/aliU8dGd2tb6OSsuzixeV4y/faTqgFtohetphbbj0=" crossorigin="anonymous"></script>
Developers can use any one of the two script tags right before the closing body tags.
Running jQuery
After including the jQuery file on our web page, we are ready to use jQuery anywhere after the jquery script tags. We can use another pair of script tags and write jQuery inside the tags.
<!DOCTYPE html>
<html>
<head>
	<title>Learn jQuery</title>
</head>
<body>
<h2>Learn jQuery</h2>
<script src="assets/javascript/jquery.js" type="text/javascript"></script>
<script>
	var heading = $("h2");
	heading.css("color", "red");
</script>
</body>
</html>
Here is the output of the above HTML document –
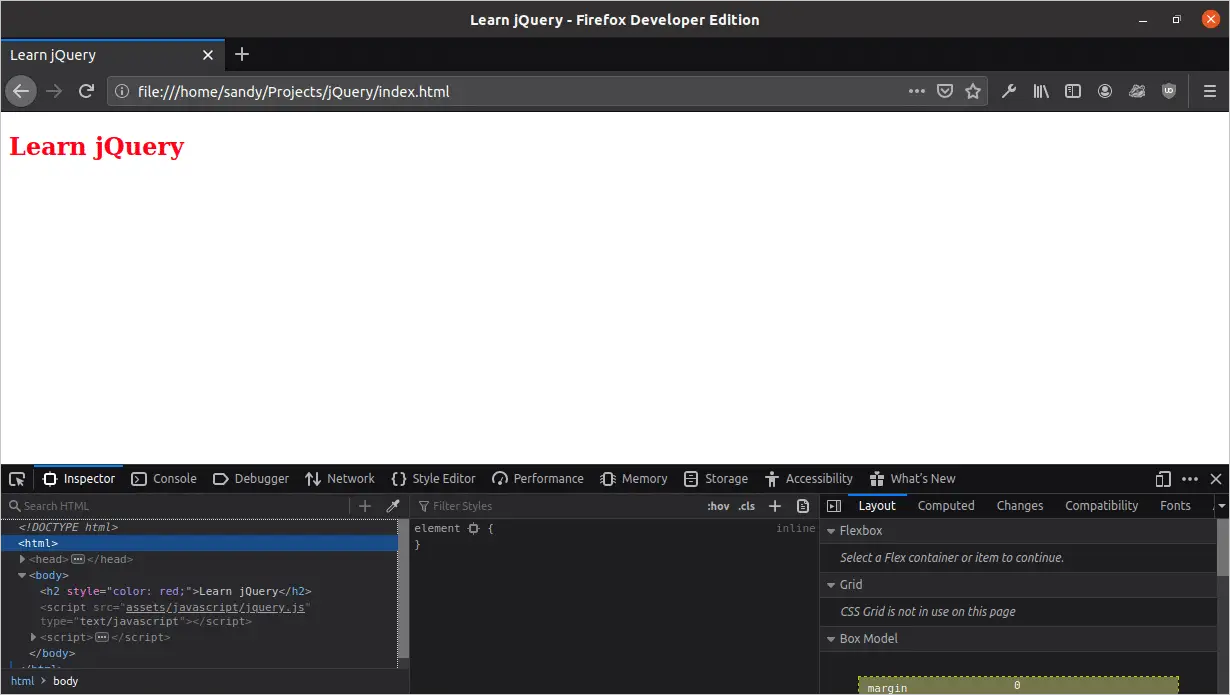
As you can see, the heading color is red. It means the simple jQuery code executed perfectly fine.
<script>
	var heading = $("h2");
	heading.css("color", "red");
</script>
If the above code does not make any sense to you, do not worry. We will discuss the jQuery selector engine and more interesting & useful methods in the later articles. For now, know that the first line selects the ‘h2’ heading, and the second line adds inline-style to the selected heading.
Separate files for custom jQuery code
The above code ran without any issues. If I had written more code, it would have executed perfectly fine as long as it was correct. But writing more & more code in an HTML file is very tedious. Just imaging having hundreds of lines of jQuery code in the footer of a single HTML file. It isn’t easy to maintain and use this code on other pages of our website.
We will need to write our code in a separate file and include that file wherever needed to fix this problem.
Inside our javascript directory, where we stored jquery.js, we can create a file called script.js. I am calling this file script.js because that is what it will have, a bunch of javascript scripts. You can name it whatever you like.

Now open the script.js file and copy two lines of code from index.html file we wrote earlier.
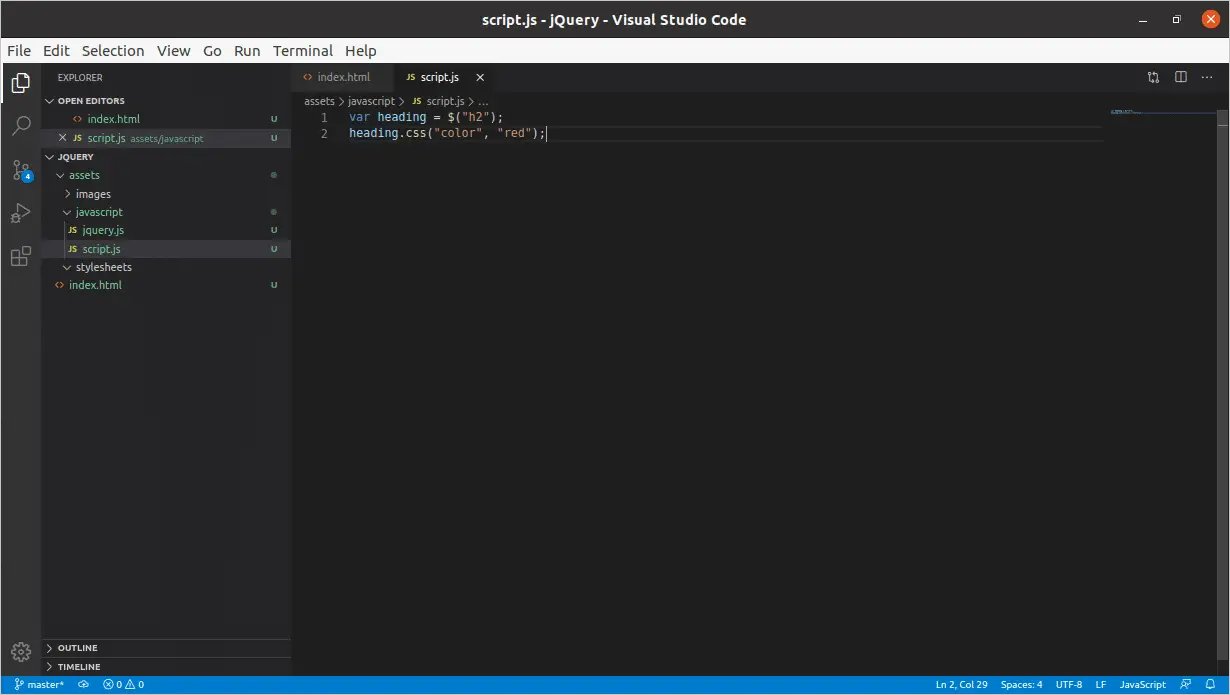
Now we can include the script.js file in our HTML pages like we did when we included jquery.js.
<script src="assets/javascript/script.js" type="text/javascript"></script>
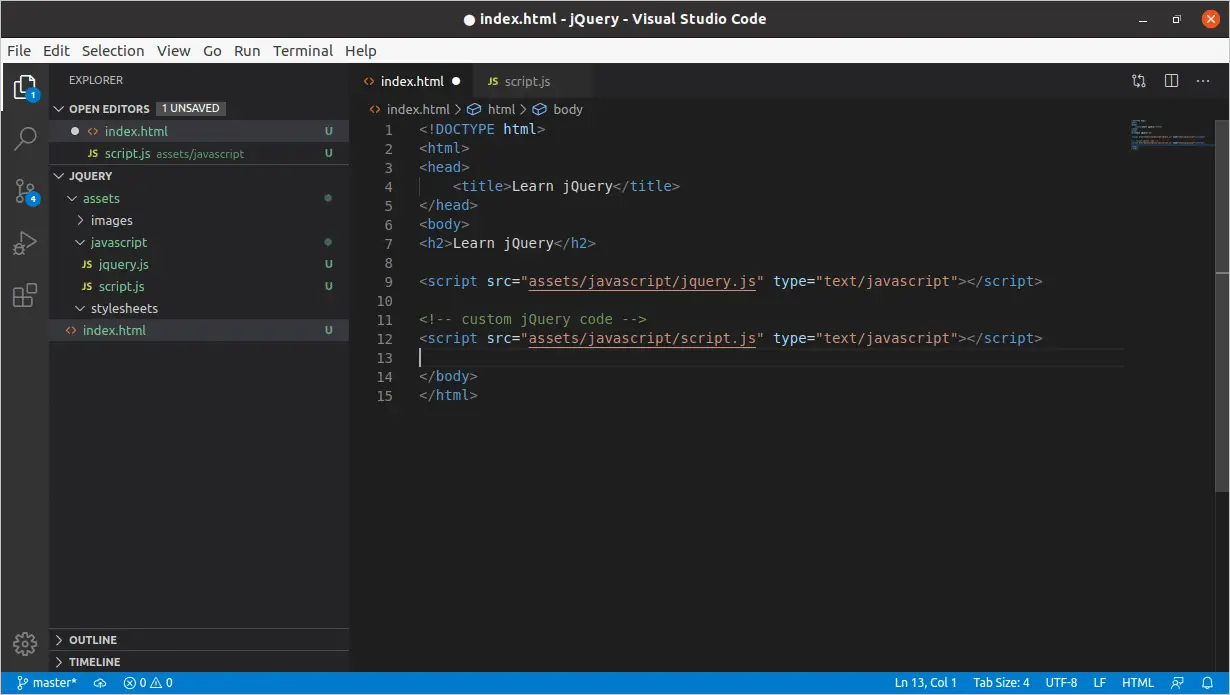
Now open the index.html file in the browser, and it looks like it did before. This time, the jQuery code is loading from a separate file where it’s easier to write & maintain the code.
The ending note
So this is how easy it is to include jQuery in web pages. Make sure whatever the code you write has to run after the jQuery file has loaded. Otherwise, the browser console will throw many errors, and none of our code will work.
That’s it for now. In the next article, we will start to learn the jQuery selector engine. It is an important topic, and I will cover the jQuery selector engine in multiple parts. So make sure you make the most out of it. See you in the next article.
LinuxAndUbuntu Newsletter
Join the newsletter to receive the latest updates in your inbox.


